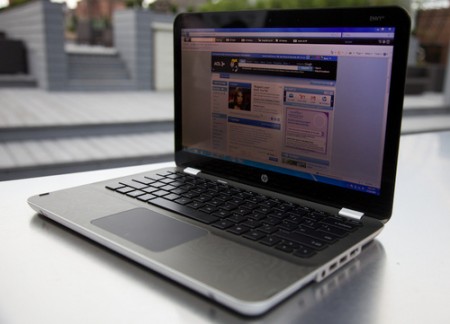
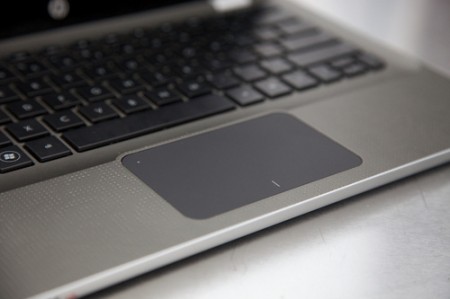
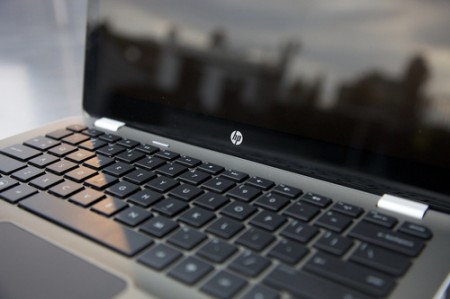
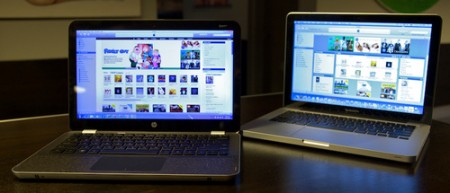
I talked about the HP Envy a while back as a potential alternative to the Macbook and now it’s finally out. I’ve always been a fan of HP laptops, they’re fast and cheap and I’ve had three which have all served me well. But they were all ugly as hell and covered with useless add-ons and blue LEDs; not exactly objects of desire, just practical alternatives to the pricey Macs. So when I heard about the upcoming Envy line I was pretty excited at the prospect of a PC laptop alternative that didn’t suck. Unfortunately, as hard as HP tried to clone the Macbook experience, the Envy seems to have fallen short of the in almost every way. I guess it comes as no surprise, nobody does it like Mac. Gizmodo has all the details on the Envy, including more pics and a review. I think I’
Posts in Hardware
Ripoff Failure: HP Envy 13
Logitech Performance MX
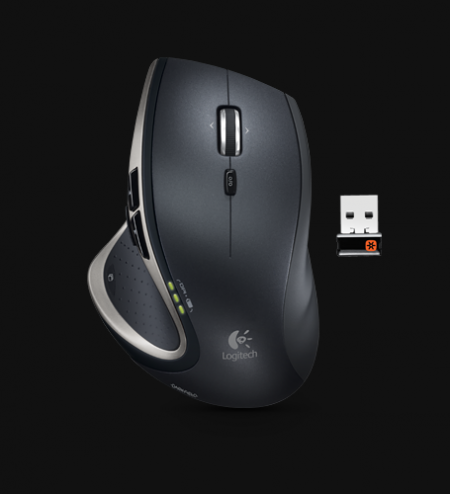
Logitech Performance Mouse MX
The new Performance Mouse MX from Logitech didn’t make it in time for the Design Mouse Roundup post from last year but I sure wish it had. I have the MX Revolution (the original version of this new Performance MX) and I really love it, save for one fatal flaw: a defective battery. This was apparently a common issue with the old MX mice and they lose their ability to charge properly. So now it’s pulling light duty upstairs as an entertainment center controller, a purpose for which it’s surprisingly well suited.
I’ve been using the Razer Death Adder recently, and aside from it’s tacky design and even tackier name, it performs very well. I’ve been steering clear of wireless mice — I just don’t trust the accuracy and the last thing I need down in the studio are more wireless signals — but this new one is pretty intriguing. I’d really like to have hyperscroll back, I miss it on the Death Adder.
Anybody using the new Performance MX yet? How it is? Let us know in the comments
Backing It Up

Regular backups should be an integral part of any creative’s computer workflow, unfortunately it seems to be neglected by a lot of people. It seems like an easy thing to do given that the alternative means betting your life’s work on the health of your hard drive but I guess it’s sort of like flossing or taking vitamins. As I’ve recently come to realize, fear of hardware failure isn’t the only reason to backup; fire, flood, theft, and user error all threaten to rob you of your hard earned intellectual property. I’ve always taken backups pretty seriously, but I have had some close calls and a very recent one has compelled me to adopt a more robust backup solution.
Some years ago — shortly before I finished my first album — my main data drive experienced a mechanical failure. Luckily I had a backup drive sitting right above it. So I bought a replacement for the original drive and went about installing it. As I was putting it in the case I accidentally dragged a screwdriver past the IDE pins on the backup drive (which was at that moment the only intact copy of all my work) in just the right way to arc the power connector and fry the controller board. At that moment I thought I had lost everything I ever did, the new album, and my sanity. Luckily the damage was isolated to the control board and I was able to pick up a similar drive and transplant it’s controller and recover my data. I learned a hard lesson that day and every since I’ve been more careful about backing up.
Fast forward to last week when it had recently occurred to me that I should have off-site backups. In a city like San Francisco, fire is a big concern and all the backups in the world can’t help you if they’re sitting in the same place as your data when it all burns to the ground. So I started leaving my backup drive at a friend’s house and bringing it home during the day to backup work from the previous night. The problem is that two weeks had passed since the last time I brought that drive home and backed up. So last week I was partitioning a disk during a Windows install and accidentally deleted the primary partition of my main data drive and that past two weeks of work. Fortunately, Partitions are relatively easy to restore (Active@ makes a very powerful data recovery suite) so this wasn’t a huge deal, but it definitely gave me flashbacks of the near catastrophe I had experienced years earlier and got me thinking I needed to start using a new system.
James E. Gaskin defines a good backup system as “Automatic, redundant, and restoreable” and I would like to add off-site to that list. The system I was using until today only covered only two of those bases. Now, I would love to use an online backup service — it would solve all of these problems — but I have about 1.5TB of files that need to be mirrored and a typical night of work will generate around 2GB of new files and/or file changes which need to be backed up. Every online solution I’ve seen would end up being ridiculously expensive at these sizes and given that my Comcast internet upstream is less than 1Mb/s, it’s really not practical if I need to move a lot of data, which is more often than not. Given all of that I’ve ruled out online backups until they bring fiber into my neighborhood or the cost of the services come way down. So I’m left with simply scaling up the backup scheme and using multiple traditional drives. The system I ended up going with is laid out like this:
1. Main data drive: A RAID5 array with three 1TB drives. This is the main drive that I work from and where I store all of the work. RAID5 uses rotating parity so that even if one of the drives experiences a failure a copy of all your data can be rebuilt from the two remaining drives. Reading and writing data from/to a RAID5 array is also much faster than a single drive (sort of like a redundant version of RAID0 – more info here) so it’s a nice bonus to have this as the working drive.
2. Local backup drive: One 2TB drive which is mirrored from the main drive every night. I use Backup Magic to do the mirroring. It’s light weight, powerful, and best of all: it only runs when I tell it to. I don’t like automatic backup apps that run in the background, they always tend to overstep their bounds and eat up system resources.
3. Off-site backup drive: One 2TB drive in a hotswap SATA bay (similar to this). The plan is to pop this in every week or so, mirror from the main data drive and then take it back off-site for safe keeping. Even if both local drives fail or my house explodes or something, at least I don’t lose my entire life’s work.
Just a note: This backup scheme is for my PC, on my Macbook Pro I use time machine to backup to a single external drive but the problem is that there’s no redundancy. If both drives fail, you’re screwed.
It’s easy to forget that as computer based creatives, everything we’ve ever done, all of our intellectual property, is sitting in a little metal box and there are a lot of things that can go wrong with that box. Regular backups are a must and off-site backups are highly recommended. I know the system I’m using isn’t foolproof — I guess nothing really is — but I feel a lot more secure knowing the data exists on three drives in two separate locations. How about you, what system do you use to backup? For all you Mac users, is Time Machine enough for you or do you have a secondary system in place? Anybody using an online backup solution? (and if so, what size is your data?) Let us know the comments
SSD Upgrade Phase 2
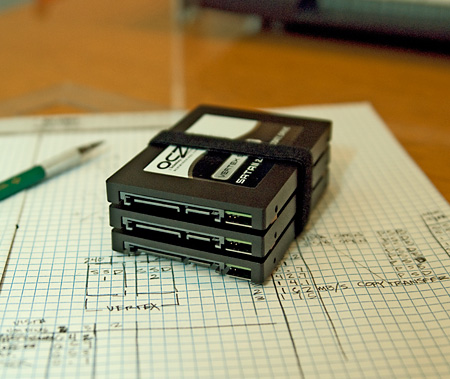
Three 120GB OCZ Vertex SSD's bundled up
After last month’s foray into the wonderful world of SSD’s via my newly super-powered Macbook Pro, I decided it was time to take my main tower PC to the next level. It wasn’t an easy decision at first, but it soon became a lot easier when two of the four drives in my RAID0 Photoshop swap array went down (for more on RAID, see my earlier post on the subject). I also had a very large format project beginning the next day and was dreading slogging through it with plain old HDDs. So I had two choices:
1. Go the (much) cheaper route — around $300 — and replace the drives in the array with two new ones of the same, ye olden tymes HDD variety.
2. Take the plunge and buy SSD’s at around $400 a pop.
I’ve made the mistake in the past of skimping and then regretting it later and I am finally starting to learn my lesson on that one. After all, computers are the central element in my professional life and how I make my living. With that in mind it’s easier to justify the large expenditure, as long as the performance gain is substantial enough. And was it ever. I’ve fallen for performance gimmicks and hype here and there in the past and have been disappointed time and again. This wasn’t one of those times.
When I built this particular machine I decided to go big with the processor and got what was at the time a the state-of-the-art Intel Q9650 Core 2 Duo Extreme. I didn’t really skimp on the rest of the components either, it’s definitely a solid rig. Still, I always felt it wasn’t living up to it’s full potential, especially considering the coin I dropped on it originally. Lately, when things are moving slow or just not acting right, I’ve caught myself considering building a new machine. Considering how recently I built the thing and how much it cost, this is just ridiculous. This was supposed to last me a while and be — to a certain degree — future-proof (which, in the computer world, means about 3-4 years). So it sort of came down to spending the $2500 to build a new tower or spending $1200 to make the existing one faster. In light of my experiences with the SSD and my Macbook Pro, I came to the conclusion that the best course of action was to replace the old HDD’s with SSD’s.
I ended up settling on a three drive configuration: One dedicated drive for the OS (Windows 7 RTM 7600 — which has been working out amazingly well) and two drives for the RAID0 array. The Windows drive is clocking in at around 245MB/s (over six times as fast as the average I/O on my old HDD) with a .1ms seek time (which is off the charts fast). The RAID array with just two drives is running around 480MB/s which is significantly faster than the four HDDs I had in there before.
All the numbers are great but there’s a lot more to the story than just raw I/O performance. The drives have removed the one big bottleneck that was left in my system, allowing all of the other components to reach their full potential. The performance increases I’ve seen go far beyond what you might expect from just a faster disk drive. It’s like a whole new computing experience, I feel more able to experiment and a lot more confident about overall stability. I almost feel like the computer used to choke on big data read/writes and would just finally crash. With the new drives it just rips through anything and never really hits that tipping point where things lock up. This new found stability could also be due to the fact that I installed the final RTM version of Windows 7 when I put in the new drives. I had been using the beta, which although very stable in it’s own right, didn’t quite compare to what I am experiencing now.
The bottom line is that SSDs are the real deal. Yes, they’re still expensive, but if you work with computers and very large files, you owe it to yourself and your workflow to look into what they have to offer. If your rig is feeling sluggish, getting a SSD to perk it up might actually turn out be a bargain when compared to the price of a new machine. Of course, a more pragmatic person might wait another year or so until the numbers come down, but I didn’t really have that luxury this time around. I’ll be posting the detailed data next week once I get a chance to do some more tests. The next step is to split that Windows drive and install OS X. If only they made Sonar for Mac I’d make the switch.
Braun Catalogues

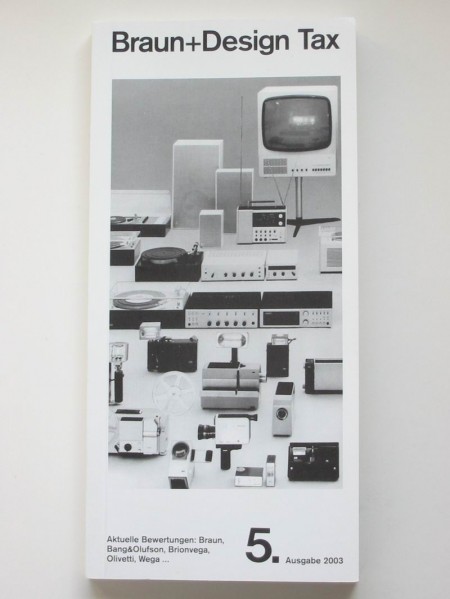
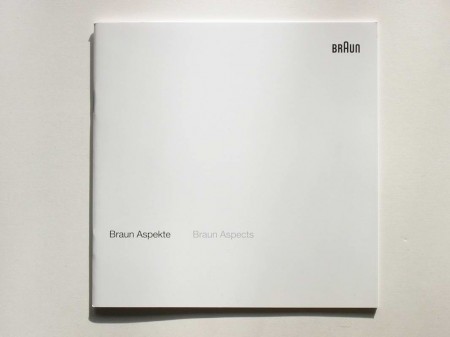
Some very nice vintage Braun Catalogues from Thimet. Looks like Braun’s influence on Apple extends beyond just hardware; I’m pretty sure that last one came with my Macbook. The site also has some great shots of classic Braun calculators (bottom of page) —one of which you will recognize if you’ve ever used the iPhone calculator. My favorite will always be the ET11 though, which clearly influenced the Omron 86R’s design.
Ivan Sutherland’s Sketchpad
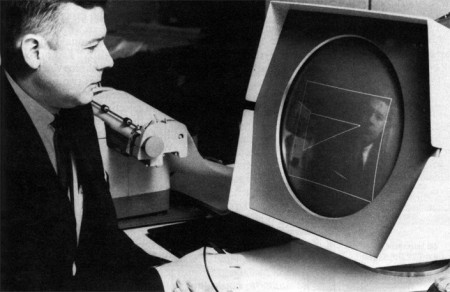
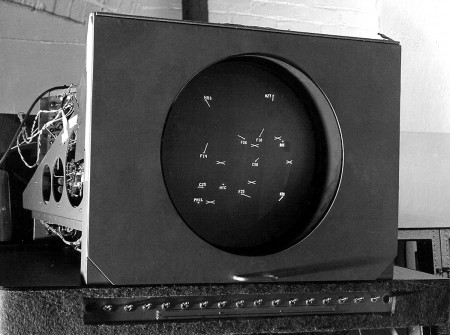
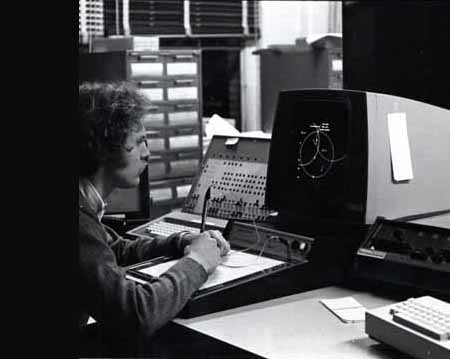
httpv://www.youtube.com/watch?v=mOZqRJzE8xg
Dusty sent me this video the other day and a quick image search yielded some pretty interesting stuff. It’s incredible to see the Sketchpad system in action; remember it’s 1963 and this is basically Illustrator or AutoCAD 0.01a. Here’s the video description:
“Alan Kay presenting Ivan Sutherland’s Sketchpad, one of most influential programs in the history of graphical user interfaces.”
I love when the narrator says that light pens have since been discovered to be terrible input devices, leaving your hand numb. The funny thing is that the first mouse was invented the same year that Sutherland developed the Sketchpad system. It’s crazy that our primary input device is still the mouse, that’s almost a 50 year run. In computer time that’s just too long and I want my Minority Report screen asap. Although I often wonder if a big touch screen would really be that great. The fact that Microsoft seems to be the front runner in the field (multi-touch) doesn’t bode well for it either.
SSD Performance Hands-On
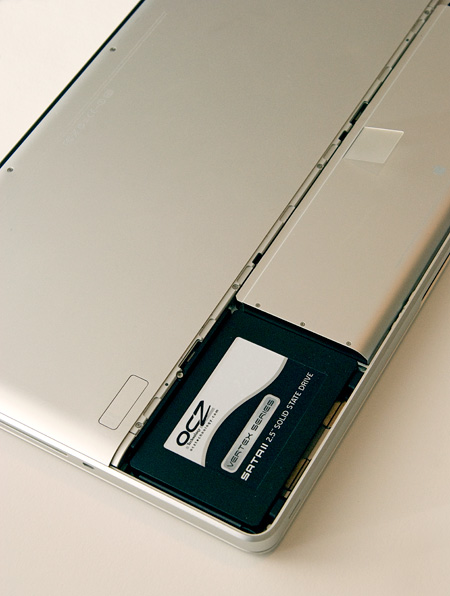
Vertex SSD installed and ready to go
After all my recent hyping of SSD’s (Solid State Drives) I thought it was time to jump in and try one out first hand so I went downtown to Central Computers this afternoon and got an OCZ Vertex 120. I decided to post up my initial reactions and findings after dropping the Vertex into a Macbook Pro Unibody and installing OS X today. If you’re not really a technical person, still have a quick read through the numbers at the bottom because if you use a computer for anything creative (or for anything at all actually) and are looking to significantly boost performance, SSDs should be on your radar. If you have no clue what an SSD is, here’s a brief primer from an earlier post.
After a lot of research on the various SSD manufacturers I came to the conclusion that OCZ’s drives have the best performance/quality-to-dollar ratio. I went with their Vertex 120 drive not only because it’s very fast, but also because it uses the Indilinx Barefoot controller. The concept of an SSD controller may seem a bit esoteric, but it’s very important at this relatively early stage in the development of SSD technology. Inherent to all SSD drives is a tendency to build up “garbage” which can slow performance over time (if you want to know more about SSD “garbage”, read this). The Indilinx controller has a built in mechanism to deal with this garbage and keep the drive running at optimal speeds. The garbage collection runs while the drive is idle and is completely transparent to the OS or user. This capability makes the OCZ Vertex and other drives that run the Indilinx firmware arguably the most advanced SSD’s available at this time. Only firmware 1.30 and up supports this feature but luckily the Indilinx controller supports updates. The drive I bought came with firmware 1.10 but I was able to flash it to the latest 1.30 with relatively little hassle. Apparently all new Vertex drives are shipping with 1.30 stock; mine must have been a couple months old. Here’s the method I used to update the firmware: Bootable Free-DOS for Mac ISO w/ 1.30 FW update.
While the Vertex 120 is not by any means cheap ($389 for 120GB), it is much less expensive than many comparable drives from other manufacturers. It’s the first I’ve seen that offers this kind of performance for anywhere near this price. Of course, 120GB isn’t a lot of room, so you’re going to sacrifice storage space for the speed unless you want to put up the $720 for a 250GB model. I’m not too concerned with that as I’m using the Vertex for my MacBook Pro and I don’t store most of my media and large files on there. I typically use it for live shows where I just need very high read speeds and about 20GB of space. If you’re using a desktop computer, you could alternatively keep your large standard drive and use an SSD as the OS drive.
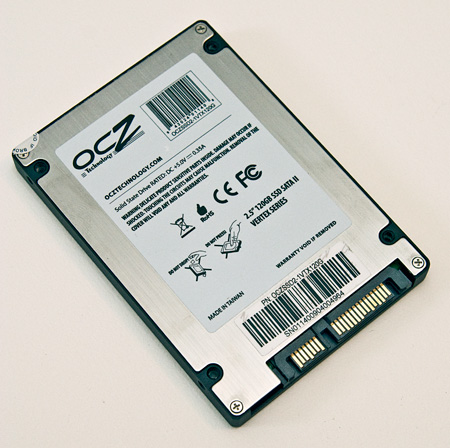
Bare drive - same form factor as a normal 2.5\
So I opened up the MacBook Pro and swapped out the old drive for the new SSD. This was very easy on the new unibody MBP and only took a few minutes. I then did a fresh install of OS X and booted up. Even after all the hype about SSD performance I was still amazed by the marked improvement in overall system performance I experienced. I could go into the minutiae of interacting with OS X running on the SSD, but suffices to say it is incredibly quick and surprisingly enjoyable.
So, on to the numbers: I did some really basic measurements to gauge the basic performance of the new drive and compared them to the original drive that came with the MBP. First I timed how long it took from power on to login screen. I chose this method so that the amount of startup items and installed apps on either particular machine wouldn’t effect the time.
Power On to Login Screen – MacBook Pro OS X
With standard drive: 75 seconds
With Vertex SSD: 28 seconds
The boot time for the SSD was nearly triple the speed of the standard drive. But this doesn’t tell the whole story, boot times are dependent on a lot more than raw hard drive speed so even though the difference is impressive, it’s still not telling of how fast this drive really is. For that we need hard numbers. I used the free Xbench to measure the drive speeds and give a better picture of the wide chasm that separates these two drives.
Original Drive Scores (Stock Mac Hitachi 320GB)
Overall Score: 34.13
Sequential Read: 43 MB/sec
Sequential Write: 54 MB/sec
Random Read: 17 MB/sec
Random Write: 22 MB/sec
SSD Scores (OCZ Vertex)
Overall Score: 229.2
Sequential Read: 202 MB/sec
Sequential Write: 169 MB/sec
Random Read: 154 MB/sec
Random Write: 176 MB/sec
As you can see, the SSD destroyed the standard drive in every conceivable way. The speeds I am seeing are nearly comparable to my RAID0 system which has 3 drives and a highpoint controller and cost me over double the amount I paid for the Vertex SSD. Throw in the fact that the Vertex uses hardly any power (great for notebook battery life) and has no moving parts to break down and you’re looking at a bargain. If you’re looking for a way to speed your rig up I highly advise looking into getting a SSD. Just keep in mind that SSD is a very nascent technology in the grand scheme of computing. If you don’t really need a drive now I would hold off a little and wait for the industry to develop. Prices have been falling very steeply while performance and disk space has steadily increased. If there’s one thing that consumer computer technology has taught us it’s that this trend will most definitely continue until SSD drives become the norm.
If anybody currently has an SSD let us all know your experiences in the comments.
5D Fireworks
Canon 5D MKII capturing the NYC 4th show by Mike Kobal (24-70mm at 2.8 at ISO 2000). Once again, the MKII delivers amazing video quality. Still waiting for Nikon’s answer before I take the plunge though. There are some more 5D MKII video examples over at Kobal’s Blog.
By the way, did anybody else happen to catch the San Francisco fireworks “show”? This puts it to shame and then some. I’ve seen better displays at Dolores Park (before they started parking that mobile command station RV out there and ruining it for everyone).
Paper Embosser

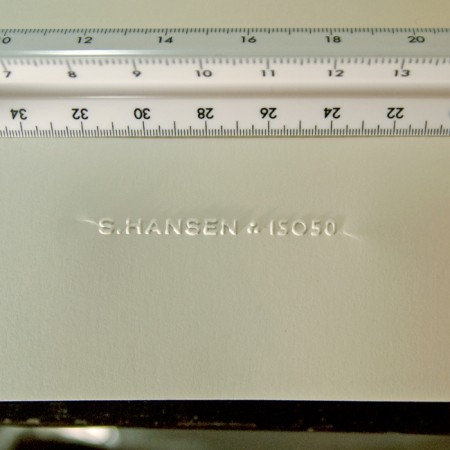
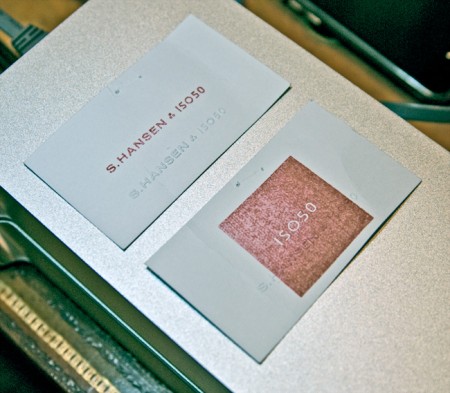
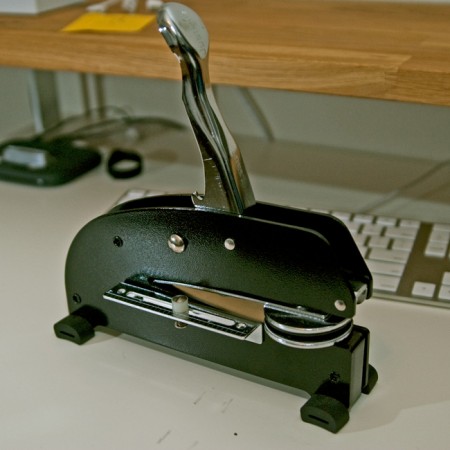
I’ve always loved official stamps and seals; as a kid I used my dad’s Civil Engineer’s certification stamp to make official looking paperwork and IDs for fun. I was looking for a way to add something like that to the upcoming Giclee line I’ve been working on but I rulled out rubber stamps as I wanted something a bit more subtle. So I recently started looking in to getting a paper embosser made with my signature logo. I was pretty surprised by how easy it was and how great the results are. The pictures don’t really do it justice, but you get the idea. The stamp can be embossed or debossed and it really adds a nice crafted touch to a project. It’s so fun I’ve started just embossing everything around the house; just cool to see the thing work.
The main cost is the press which runs about $200 (seems steep for what looks like a glorified stapler). The dies themselves — the circular part that hold the custom design — are included in this initial cost and are interchangeable. The only issue I’ve run into is with creasing at the edges. Depending on how you stamp it there will be moderate (first photo) to severe (second photo) creasing toward the edges. I am working with the vendor to fix this and depending on the technique I am able to minimize the effect. This may just be an artifact of this particular stamp as most are circular seal designs that fill the entire die, but I’m waiting until I can get it to be almost invisible. To be fair though, the flash is really exaggerating the effect in both shots, the creases really aren’t that noticeable in normal light.
Another fun — and far cheaper — alternative is rubber stamps (see third pic). I had a couple made by the same people and it’s been fun blasting those all over everything. But I was thinking the embosser in particular would be a really good buy for design students wanting to add a little extra something to their projects and also to mark their text books. It really has that old school real-world graphic design feel.
The unit pictured above is a heavy duty desk press from Made to Order Stamp and Seal out of New Mexico. We tried some local vendors initially, but the customer service of Made to Order was much better. They really work with you to determine the best option for your needs, and can turn around a custom job within a week. Highly recommended.
Some Random Flash Shots
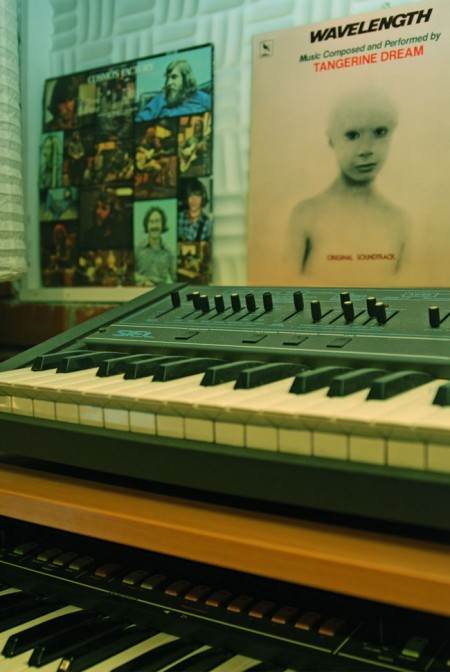
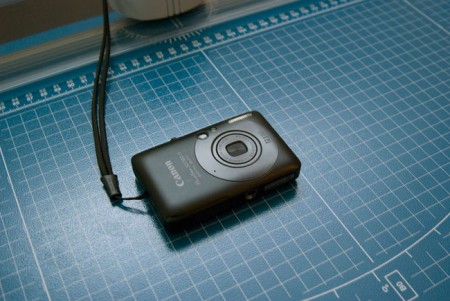
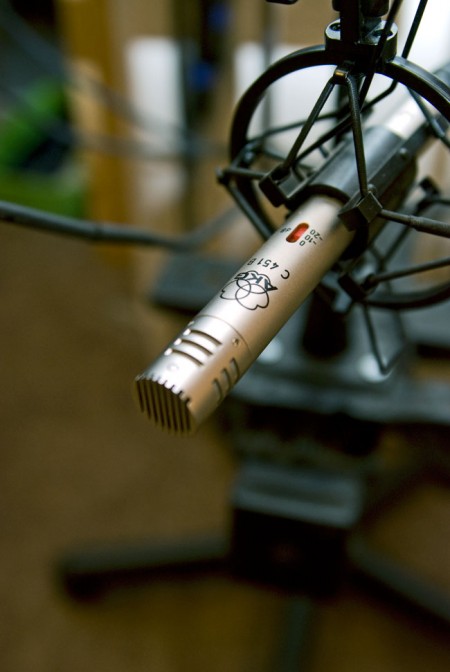

So I picked up some Nikon flashes last week and have been having a lot of fun with them. I got the SB-900 and its little brother, the SB-600. I’ve been running the 900 attached to the camera (D80) and have the 600 as a remote slave using Nikon CLS. Using the multiple flash setup has yielded some really great results (see this post for some examples) but even with just one flash attached directly to the camera I’ve found it’s pretty easy to get great shots.
Just thought I’d post some random shots I got playing around to illustrate how easy it is to get decent stuff using a good flash. I didn’t do all the post-processing stuff I usually do so you could see the raw output (save for the first one which I color filtered inside the camera). These were all shot with NEF RAW in adverse lighting conditions, most in very low incandescent light. As you can see, just the single flash was enough to fully light the scene and balance the color. If memory serves correct they were all taken with the SB-600 attached the camera. Also check out Alex’s post on the SB-600 for some other examples. As I work with the flashes more this week I will post more examples and info.