Last week I wrote a quick post about the Nosh Promo video I made. Today I wanted to go into the production and describe all that went into its creation. Basically it was insane 25 hours from when we started, until the next morning when I exported the final video and the power went out in my apartment building (literally AS I hit export). Above you’ll see the composite I put together to show how each step of the post-process contributed to the final video. View the final video here or at the bottom of this post. I’ll describe each step in detail after the jump.
Background
A lot of startups these days do quick promo videos, and it certainly is an effective way to get the word out about your app. As we approached our launch date, our PR team reminded me how great it would be if we could include a video with our press release. I had thought about it previously, but had been buried in work leading up to launch, and hadn’t had time. The issue prelaunch was we had about three days left and a staggering amount of other things to do to get ready. It was classified as a ‘nice to have’ item.
The whole situation reminded me of that scene in The Princess Bride where Wesley is listing his requirements for storming the castle…”If only we had a wheel barrow that would be something!”. Pulling it off seemed difficult, though luckily most of my design work was out the door (eagles were in the water, as we were fond of saying), so I had time to at least attempt the video hail marry.
Script
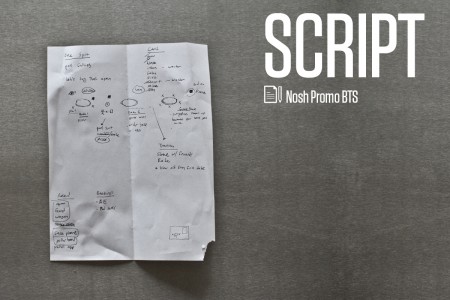
It started with one epic brainstorm with my coworkers, the result of which was one amazing and ridiculous concept we unfortunately had to scrap. We were trying to work off of a startup budget and our plans involved some rather expensive fireworks. Scrapped. So using that as a jumping off point, I started talking with my friend Phil (who you may recognize from my Wes Anderson trailer) about the script and what would be cool given our various constraints. We outlined a quick version and decided to hammer out the specifics on set. This is an insanely risky way to work, but somehow we are most effective this way. Our “script” is displayed above.
I had always wanted to do a shoot like the Wes Anderson (I am aware I’m obsessed, thank you) American Express commercial and I decided to use this as a stylistic reference. I knew I wanted it to be one shot, the issue was somehow highlighting the different benefits of the app. We needed to show: 1) a situation without the app, and it going poorly, 2) a situation where the app is used to decide what to get, and it going very well, and finally 3) the app being used to share with friends and everyone having fun and all their dreams coming true and what not. To cram all of this into one shot, we would have Phil move between tables as if he’s moving to a new place and time with each transition, hoping the audience could suspend disbelief. We structured everything around predetermined humor bumps (ex. falling into the pool) and went from there.
Gear and Supplies
Once this loose outline was determined, I had very little time to source all of the gear needed to pull it off. In addition to the set and personnel requirements, there were also a fair amount of loose ends I needed to close on my film/audio setup. I’ll start with that.
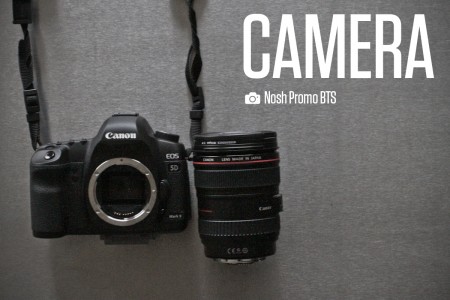
To shoot the promo I used my Canon 5DMKII. The lens was a 24-105mm f/4. I shot at 24fps and locked in my exposure and all that based on the lighting window I had determined to be optimal for the shoot. I had hoped we’d have a little sun bleeding into the frame, but we were cursed with a low fog that day and had to make it work in the overcast. Ideally I would have had some sort of lighting setup as well, but I haven’t learned anything about lighting yet so natural light it was. Next on the list for sure!
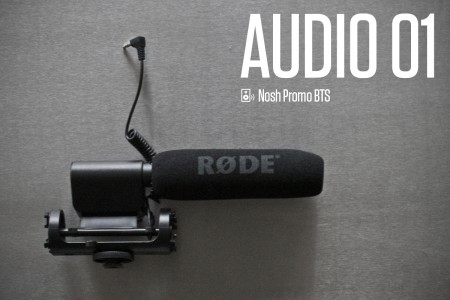
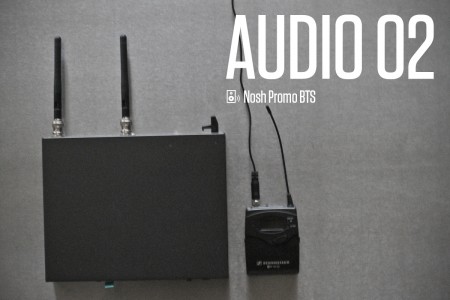
To record the audio I had a Rode Video Shotgun Mic mounted to the top of the 5D. I’ve used this by itself before with decent results (to record my Scientist video), but this was at a larger distance and I worried a lot about noise bleed. We had a lot of planes flying over, water splashing about in the pool, and an insanely noisy dolly to compete with. To balance this out, I purchased a Sennheiser EW112 Presentation Kit last minute so I could outfit Phil with a lavalier mic. Oddly enough this was the most expensive part of the production ($500). Short of rigging a homemade boom mic, I saw no other audio option.
To make the poolside look like a restaurant, I purchased a cartrunk full of random do-dads from IKEA and Home Depot: $20 tables, table clothes, place settings, fake flowers, etc. I called all around SF to see about renting dolly tracks etc, but all of these options were determined to be way too expensive or complicated. In the end, I purchased a red wagon as well as an amp dolly from Guitar Center. One of the two would have to do (I was rooting for the red wagon). I was hoping to find a podium for the hostess stand, but where on earth do you buy a podium on short notice??
For the cast, thankfully I am blessed with an awesome bunch of talented friends and coworkers who could fill in for the various roles needed. We actually ended up needing a fair amount of characters as we were shifting between different times/places in the one shot. My favorite moment was when I asked Josh, our engineering summer intern, if he was ok jumping in the pool multiple times. “Hey man…so there’s a fun role in this…”
Shooting Day
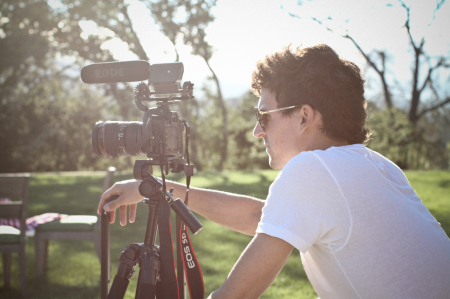
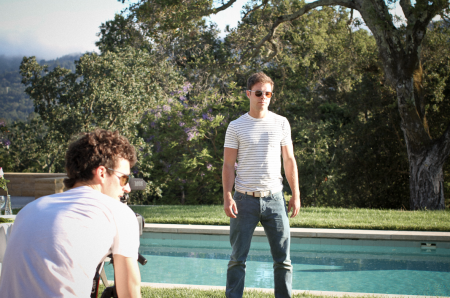
Based on previous nights in Palo Alto, I had determined that our optimal time to shoot would be between 7-8pm. The plan was to practice from 6-7 with everyone in place, and then start running it for real for one hour. This worked somewhat well, but I didn’t anticipate how long it would take 1) to set up the remote mic, and 2) how long it can take to dry off an intern in between takes 🙂 Kidding Josh. The danger was if we didn’t get the take before 8pm, it would get too dark and the video shoot would be a bust. We’d have to launch without the video (which of course was doable, just would have been a real bummer).
Phil and I set up the scene in the early afternoon and ran it a few times alone. Working off of our outline, a script evenutally started to take form as Phil did a combination of improvisation and reciting key lines I had told him we needed to include. These lines were divided into two categories: 1) those lines that we thought were hilarious and 2) those lines that were necessary to highlight app features. For example, if we ran the shot and he didn’t say “use Nosh to see what’s good” we’d have to run it back.
Once everyone was on set, things got crazy and time started moving really fast. Plans to test audio levels and that sort of thing had to go out the window as there was a fair amount of set choreography we needed to practice. One long shot requires everyone to know exactly where to be and when with impeccable timing. We were able to stay on schedule and began shooting at 7pm. We did five complete takes and ended up getting usable ones in the last two we shot. The red wagon dolly lost out to the amp cart, though the final roll was still a little shaky (next time we’ll try a homemade PVC track with wheels).
Post Production: Video
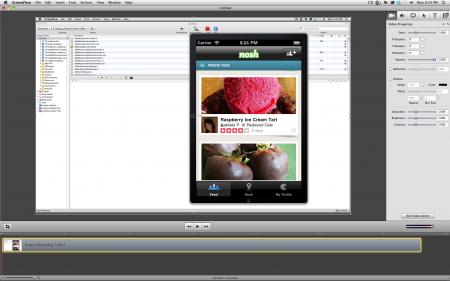
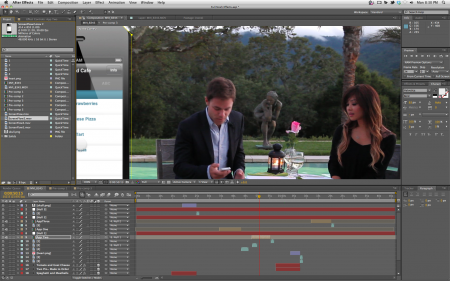
After the shoot was over, the hard part began. I needed to “film” all of the After Effects shots and I wasn’t entirely sure I knew how to do this. I had been practicing this a fair amount — filming action sequences in my apartment — but dropping in iPhone interactions was uncharted territory (though It actually turned out to be easier than muzzle flashes and explosions). To work in all of the effects, I used a combination of After Effects CS5, Screenflow, Xcode, Simfinger, and Photoshop. I ended up just dropping the whole unedited shot into After Effects and did all of the effects first, so all of the color grading afterward etc would affect everything consistently.
For the final iPhone shot, where it comes into the frame as the camera moves, I had to do a small motion track. This was fine but I think I picked the wrong point to track off of because, if you look closely, you can see the phone shudder toward the end of its appearance. I wanted to do more with motion tracking for this video, but I couldn’t really find a worthwhile spot to do it.
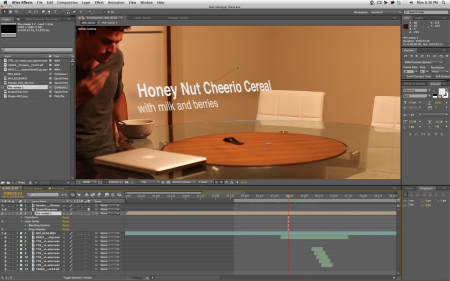
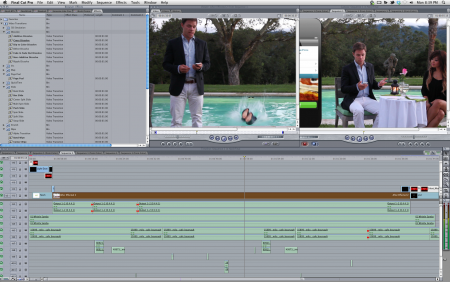
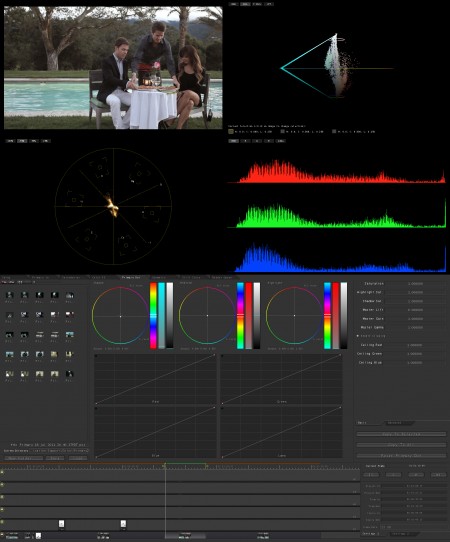
I also did a little bit of type animation using AE, but was disappointed I wasn’t able to make this cooler. I did a small ‘hinged’ effect for the appearance animation, mainly to practice this effect for use in the future. Like everyone else, I loved the intro to Stranger Than Fiction, and want to learn more of this type of technique. Something had to be sacrificed during the editing and crazy motion tracked type was it.To edit the video, I used Final Cut Pro not Final Cut Pro X. Good lord I opened up Final Cut X and had a terrible flashback to when they “updated” iMovie by stripping it of everything useful. I’m sure Final Cut X is fine, but it scared the shit out of me when I first opened it. I used Color to grade the footage, doing my normal moves of desaturating everything a bit and bringing a little bit of reds into the blacks.
Post Production: Audio
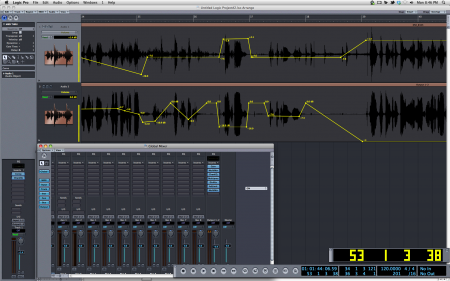
As mentioned, all of the audio was recorded with a combination of the mounted shotgun mic and the lav set. The issue was I had never used lavelier mics before and had limited time to practice with them. I did what I could to test the levels, but unfortunately there was a fair amount of clipping in the middle of the take we ended up using. This was potentially devastating. When I got home and was reviewing the audio I was really bummed to discover a half usable take on the lav side. Phil and I had a late night discussion about potentially overdubbing the audio, but it was about 2am and we both were about to start hallucinating from exhaustion so this option was killed.
When you hear the audio with just the lav track engaged, it’s beyond clean. So clean that it sounds terribly unnatural. To make everything feel more real, I layered in a recorded track of a restaurant cafe scene. You can barely hear it in the finished version, but if it’s not there it sounds really fake. This plus the music I think created a cool vibe. I wanted the whole thing to feel like some fancy restaurant on like the French Riviera. Maybe a poolside cafe at a fancy hotel. Check the video at the beginning of this post to see what it sounded like before these other elements were layered in.
Conclusion
When the all-nighter was finished, at 10am the next day, I hit export and literally as I pressed it the power went out in my apartment building. I’ve never yelled so loud. Of course I knew the video was probably autosaved, but I wasn’t sure and quickly unplugged everything and drove my tower (at blistering speeds!) down to our Mountain View office. Everything was safe when I plugged it in, and I uploaded it to Vimeo right then and there. I had a few more edits I wanted to make, but the power outage had freaked me out too much haha and off it went.
So there it was! What a fun experience. The editing bender was a little intense, but the shooting and concepting was beyond fun. I am looking forward to creating more videos in the future. We have a really fun one planned and can hopefully get on it soon.
I haven’t written anything at all about our app yet (I will!), but until then, definitely download it and check it out. You can also follow me on Twitter if you want to stay up on all the weird things we do everyday at the startup lab 🙂


Great video, where did you get your film burn stock footage from?
Looks pretty good!
This looks great. Very detailed description of what you have done. A lot of great things about that commercial. The whole idea first and foremost, all the graphics and typography was great, the actor and of course the monologue. Great. Good call on not using light. Lighting is tough in moving pictures, and especially when you’re doing a 1-shot.. No one uses light for that 🙂 I think you color-graded the whole thing a bit too desaturated for a commercial. The colors of the iPhone-app really pops next to the almost dull character of the grading. You’ve got a handsome lead, a pool and an overcast day. This calls for Blockbuster/Gigolo/Hefner colors. And they aren’t desaturated, I promise 🙂
You really love Wes Anderson, don’t you? 🙂
I love it 😀
The video looks great and it looks like the shooting was a lot of fun. The script held my interest and everything looked very professional. The type animation was good, no need to get overly ambitious with the type animation, what you did was simple and clean and got the point across.
Love stuff like this…really well done!
Alex: Thanks for the break down of your process. Very cool to see the different layers of production. Is that 24-105mm a f/1.4 or f/4? Because a focal range like that at f/1.4 would be sweet! (And assumedly very expensive). Overall, really enjoyed the post.
@ Steve – good catch, fixed! f/4
That girl is really hot
Do the interns get a glock?
Hey, couldnt find a contact form for Scott or someone else. I think I’ve found someone who has stol this blog’s design: http://blog.wanken.com/
@Luis: haha, nice one! Wanken is a contributor on this blog too.
Very nicely done Alex, i think its really cool to see that all of your previous work on videos and music now pays off for a tight-deadline-assignment like this.
Great work Alex! I love the subtle humor that’s going on in the promo.
Two thumbs up for trying, but it was exhausting, too literal and sophomoric… Your video proves that most designers will always need to rely on a solid copy writers to bring everything together…
Great, really enjoyed it!
Great work Alex and, dare I say it, an even better documentation process. Thanks for sharing 🙂
@Cameron I’m pretty sure you’re looking for Artbeats’ Film Clutter: http://www.artbeats.com/collections/160-Film-Clutter?page=2
This was great, I’ve watched it a few times because I’ll be doing something similar at Uni this semester (albeit shorter and less involved). Thanks for sharing.
wow this is great insight for me! hope i can hire you in the future
Lovely video! Super slick, really nicely delivered. BTW, sorry to be that guy, but there’s a typo at the end: “availible”. Sorry! Sorry!
Alex.
SO NO ONE…
OK…I guess it’s got to be me.
Music: Whistle Samba – Maria Helena Toledo & Luiz Bonfá
Alex.
SO NO ONE…Music: Whistle Samba – Maria Helena Toledo & Luiz Bonfá
OK…I guess it’s got to be me.
Is his Blazer supposed to be messed up in the back when he gets up from “eating” spaghetti and meatballs?
@badmadrad – Yes, yes it is. No, that was the wireless transmitter causing a ruckus. Unintentional but entertaining.
i can recommend this documentary about him:
http://www.imdb.com/title/tt0443698/
Its incredible you go through such detail to explain everything in this post. Very useful for anyone attempting to do anything on this type of project, or even just do a screen capture on an iPhone. You are very talented on many levels and the dedication to your work shows. Thanks for continuing to let us into your brain and life. I am a total fan!
C42D